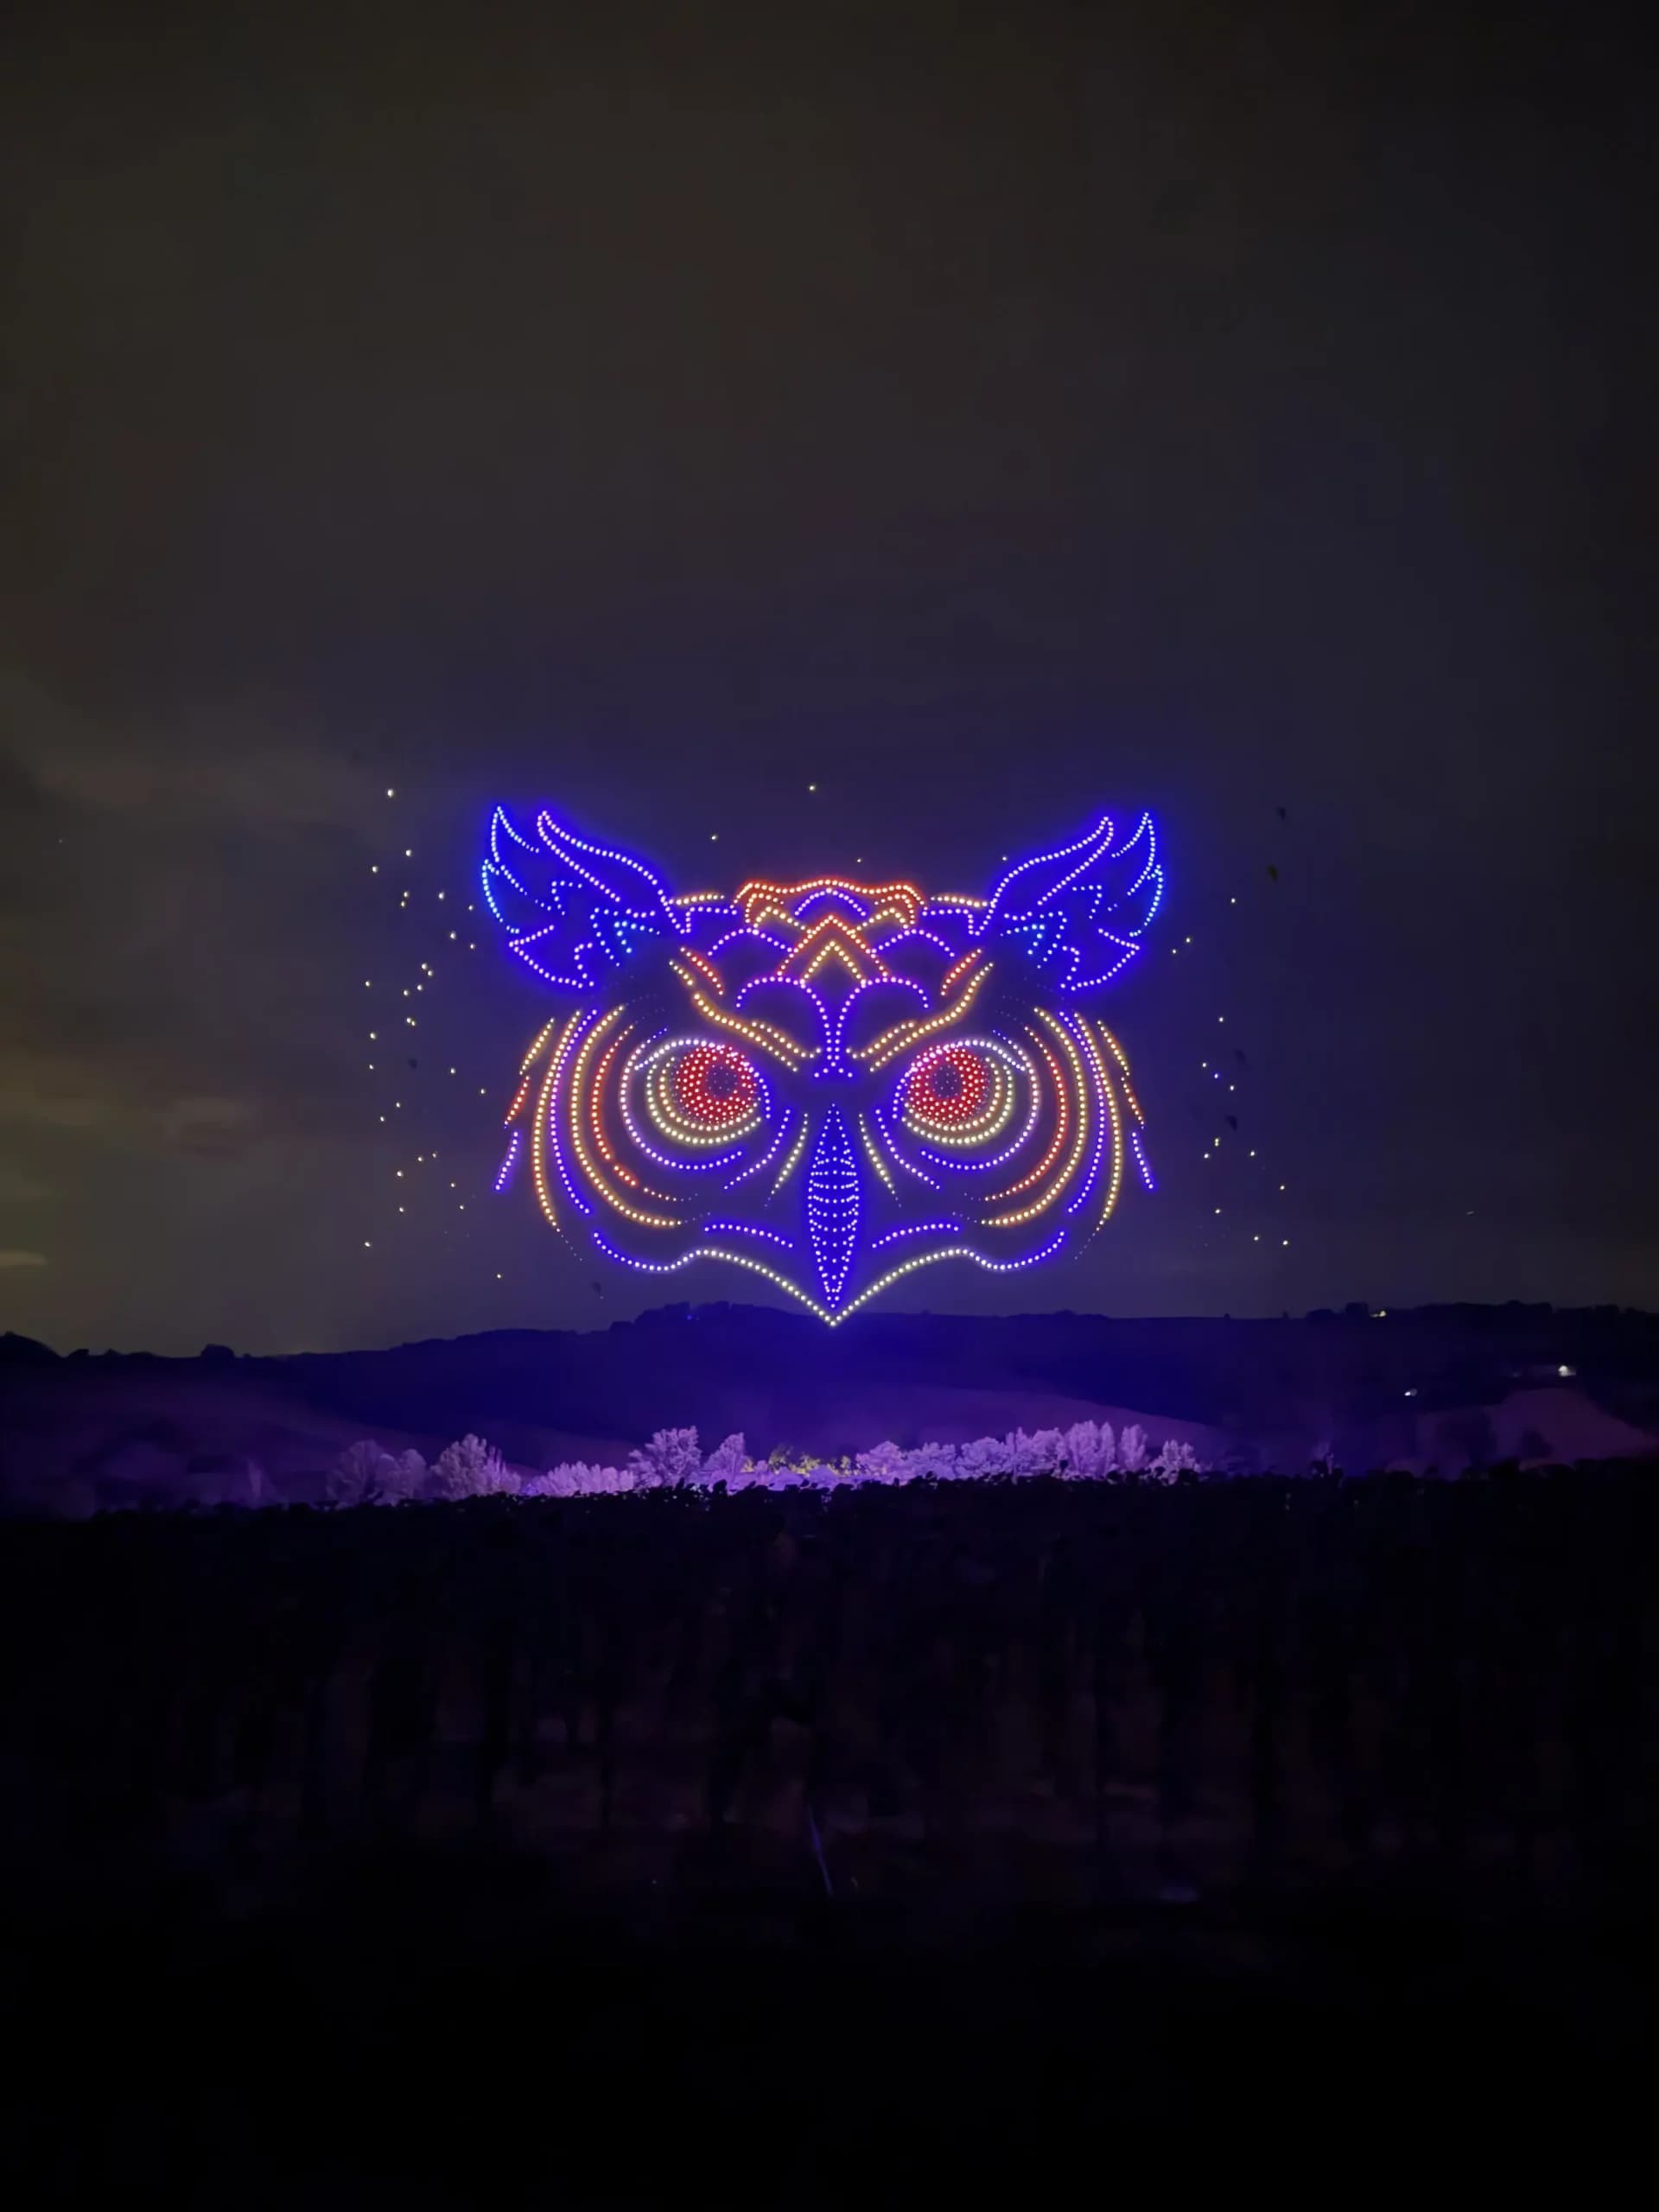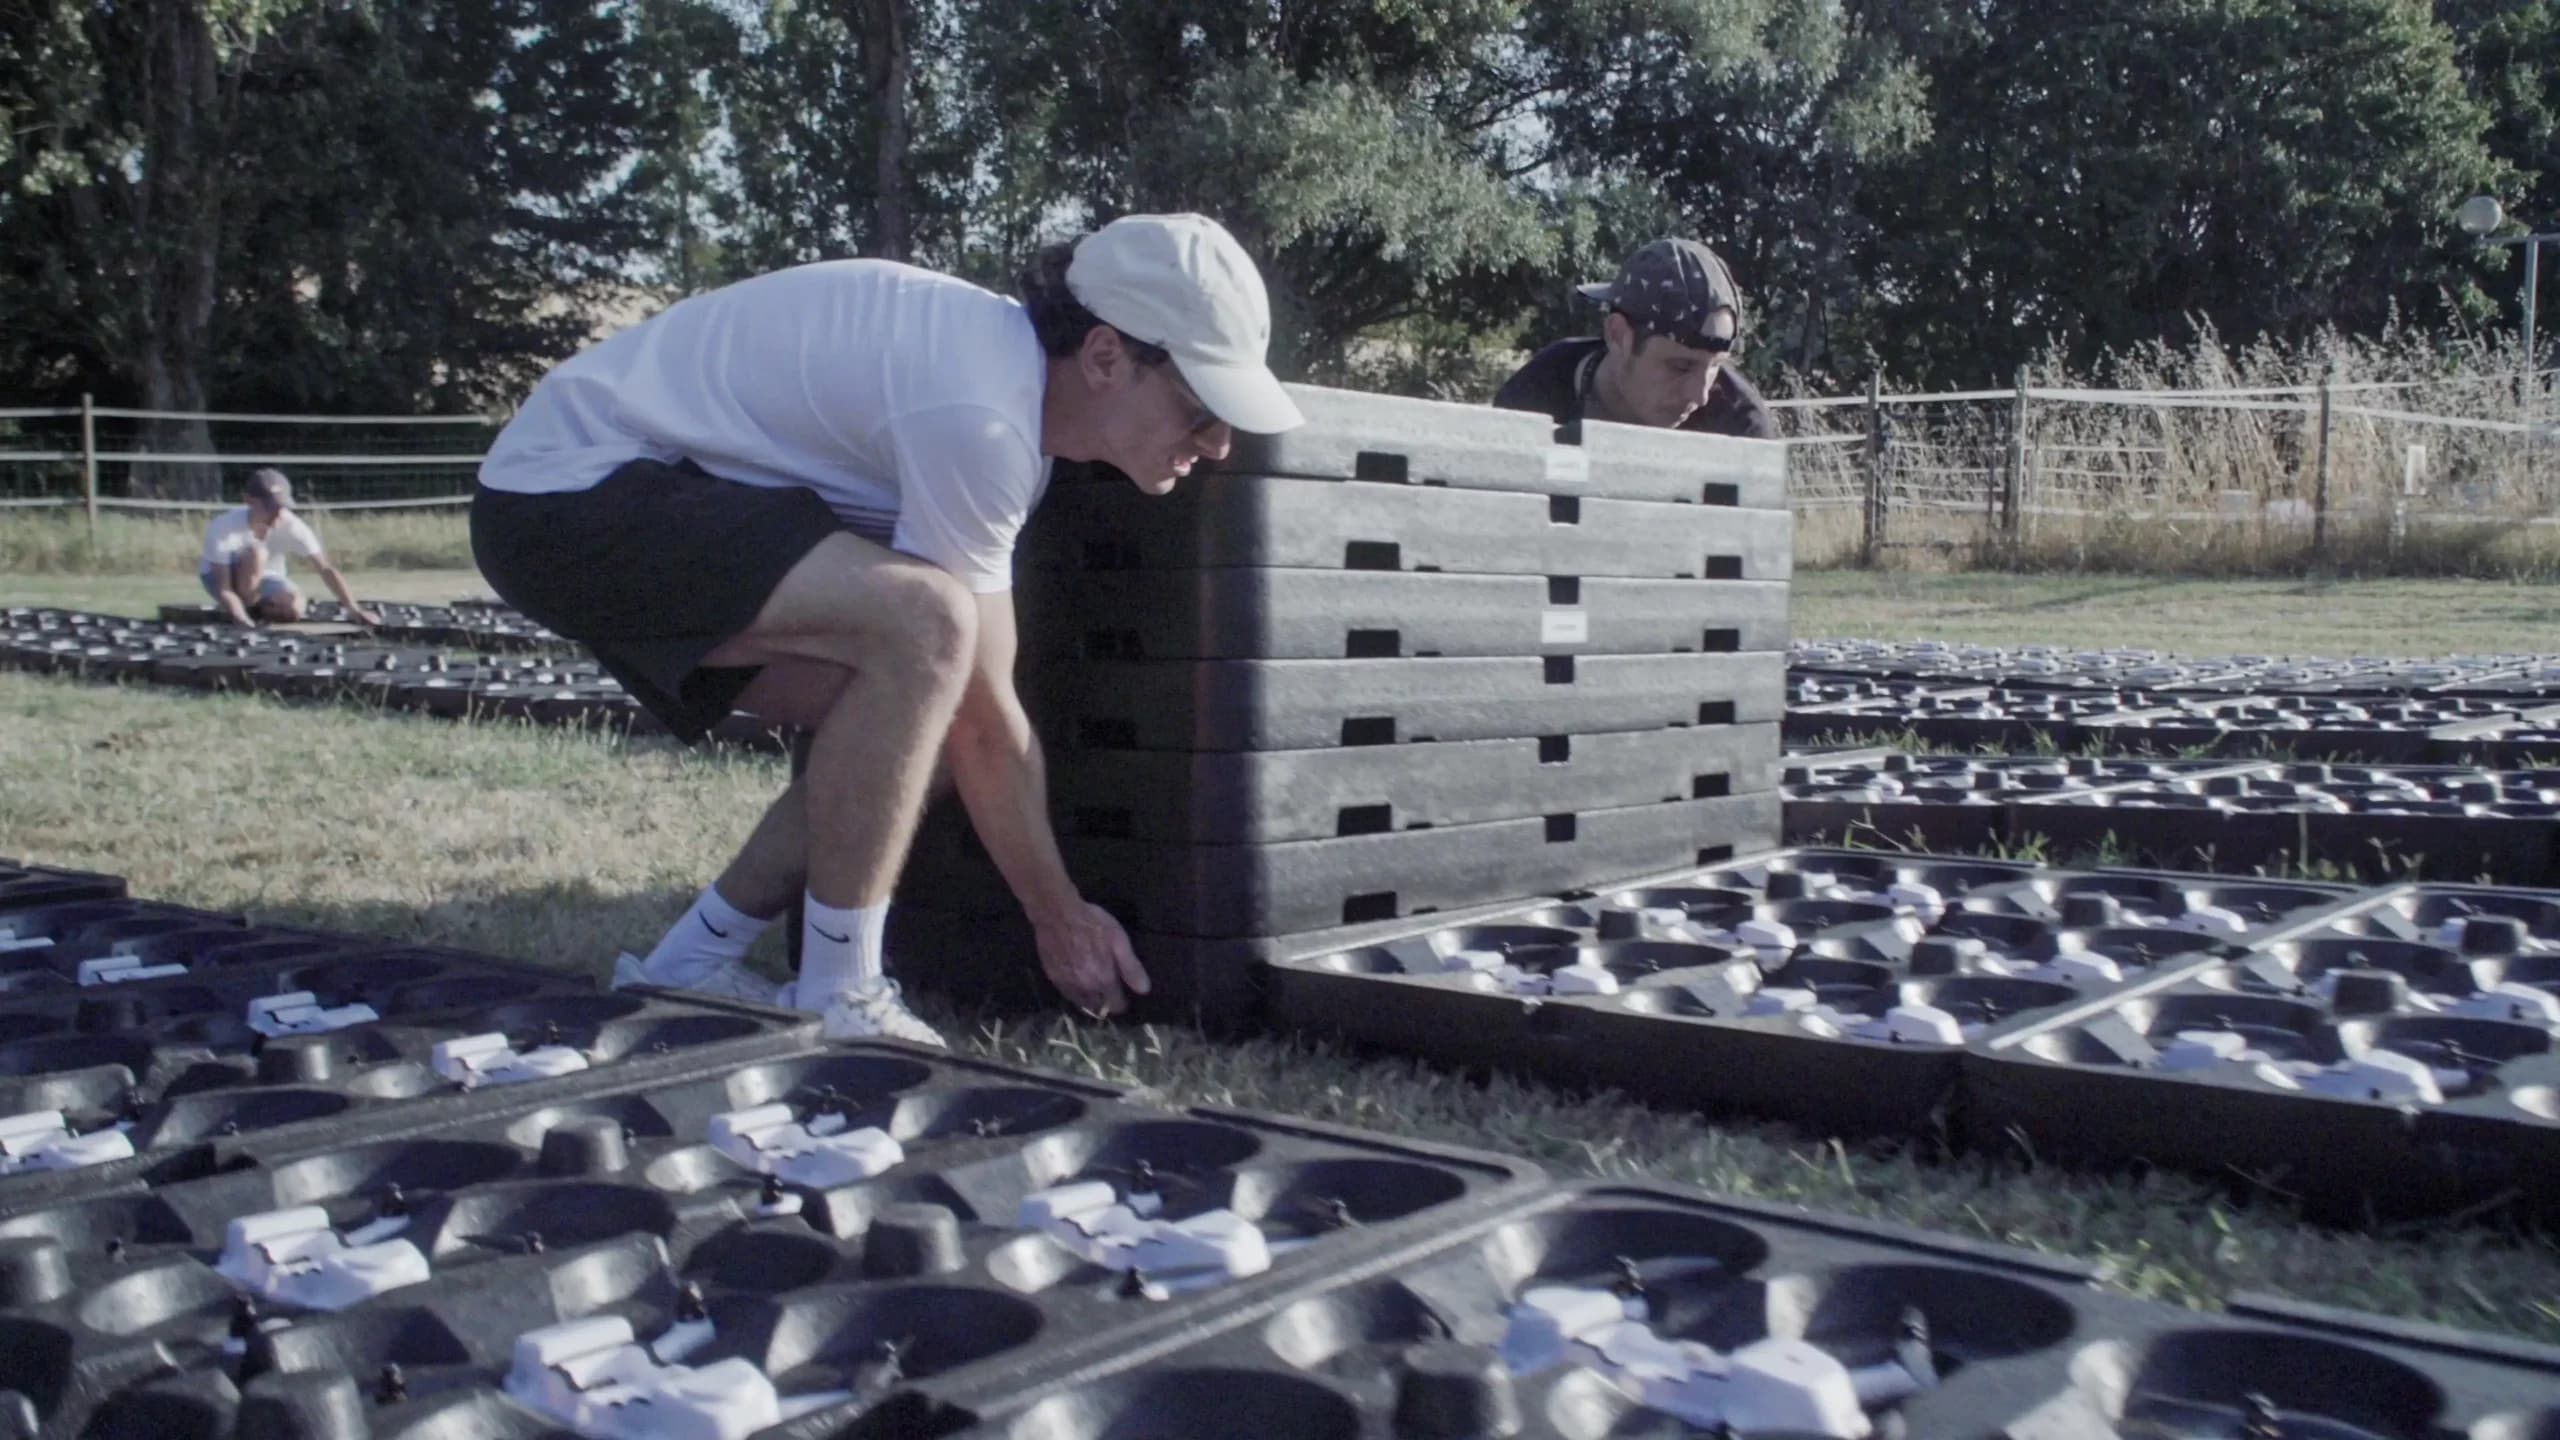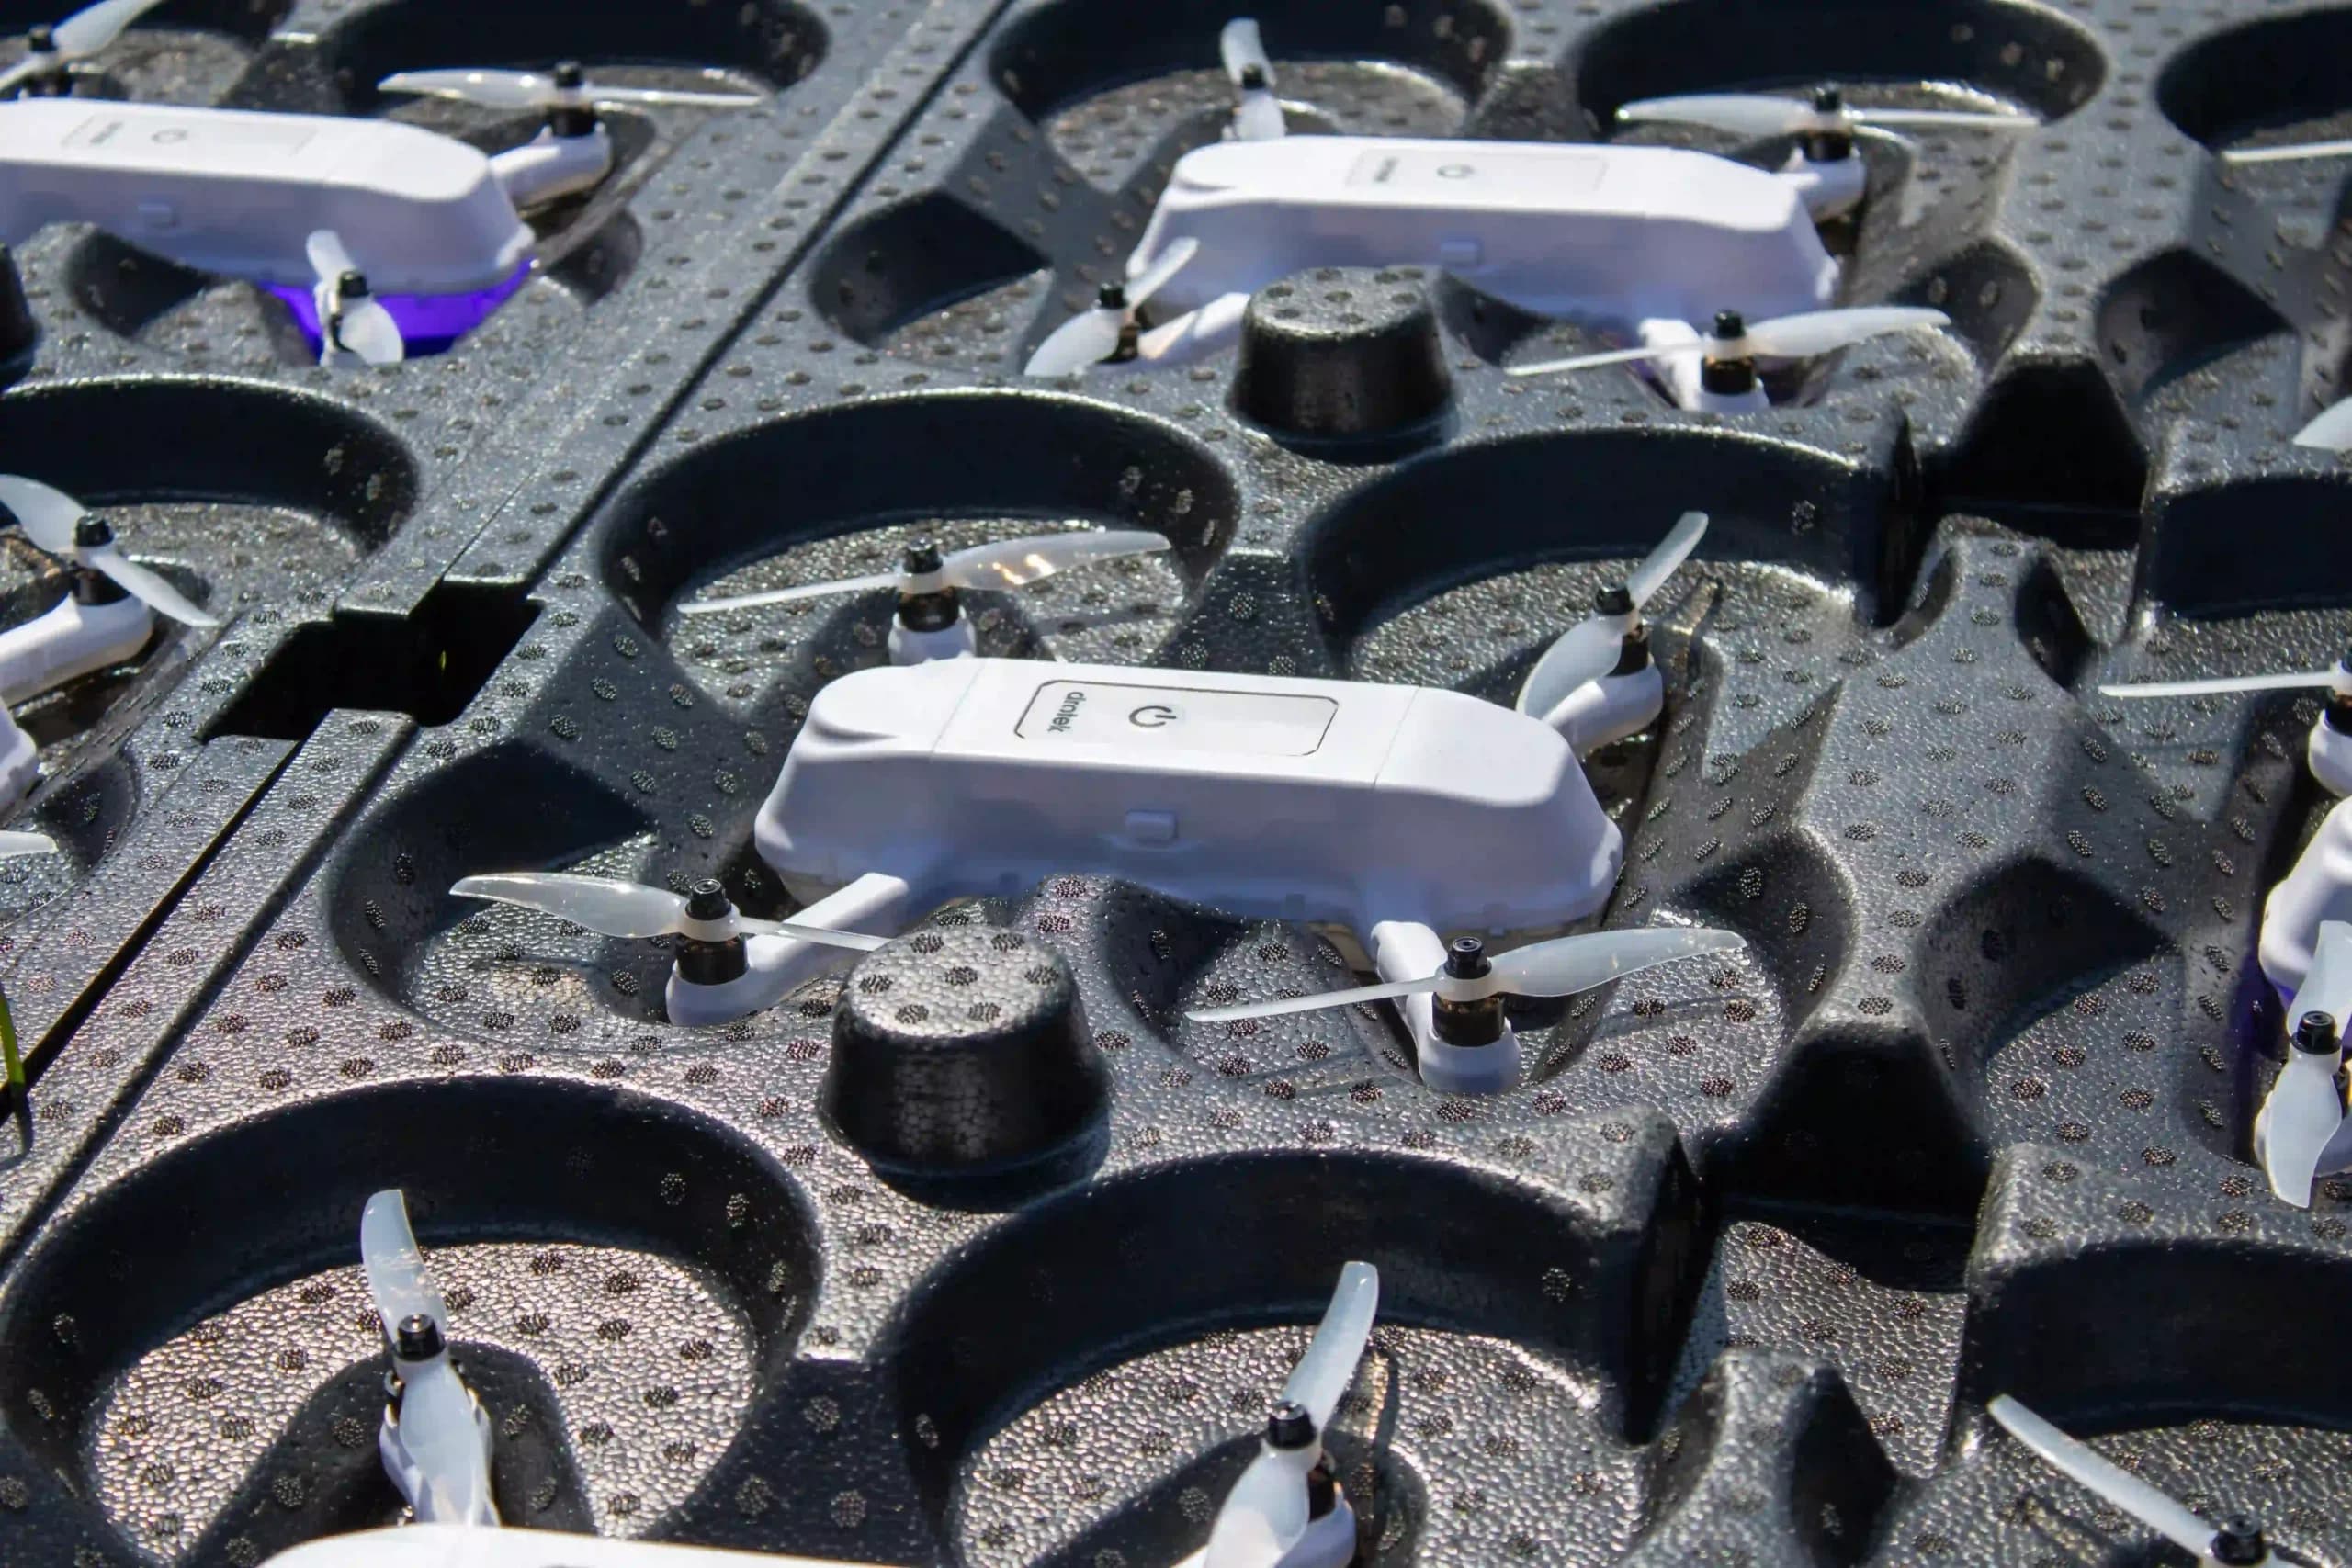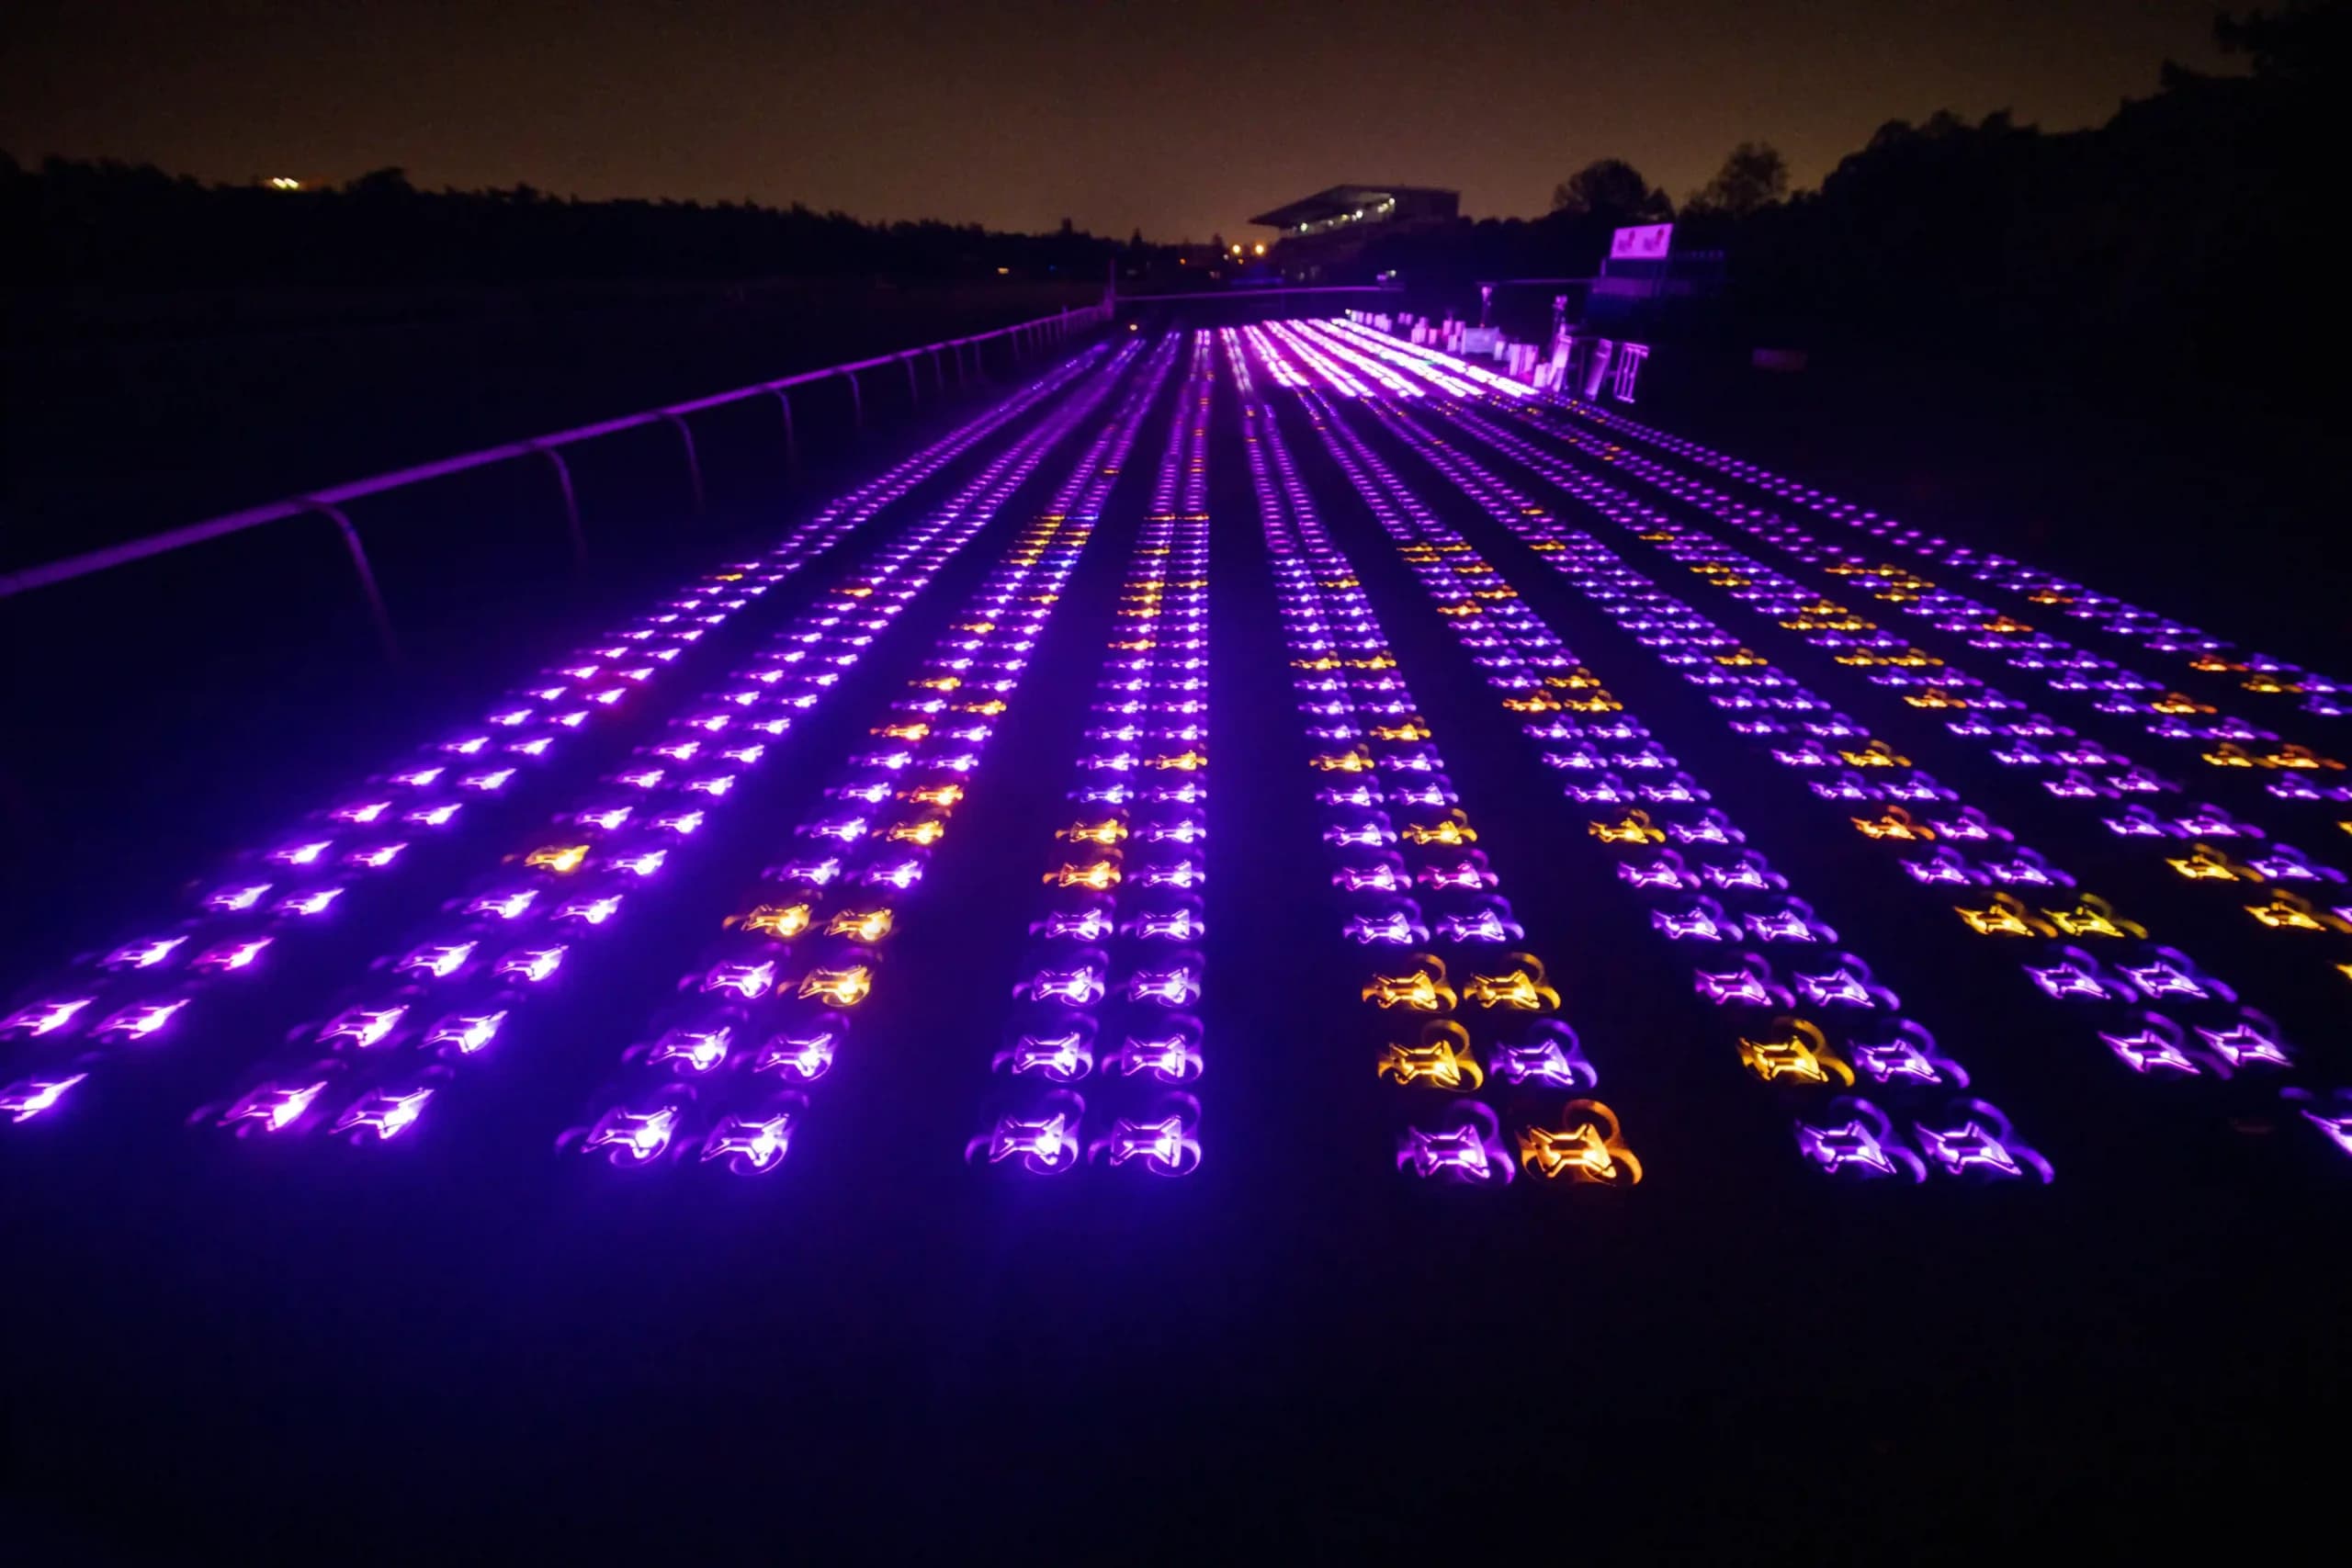
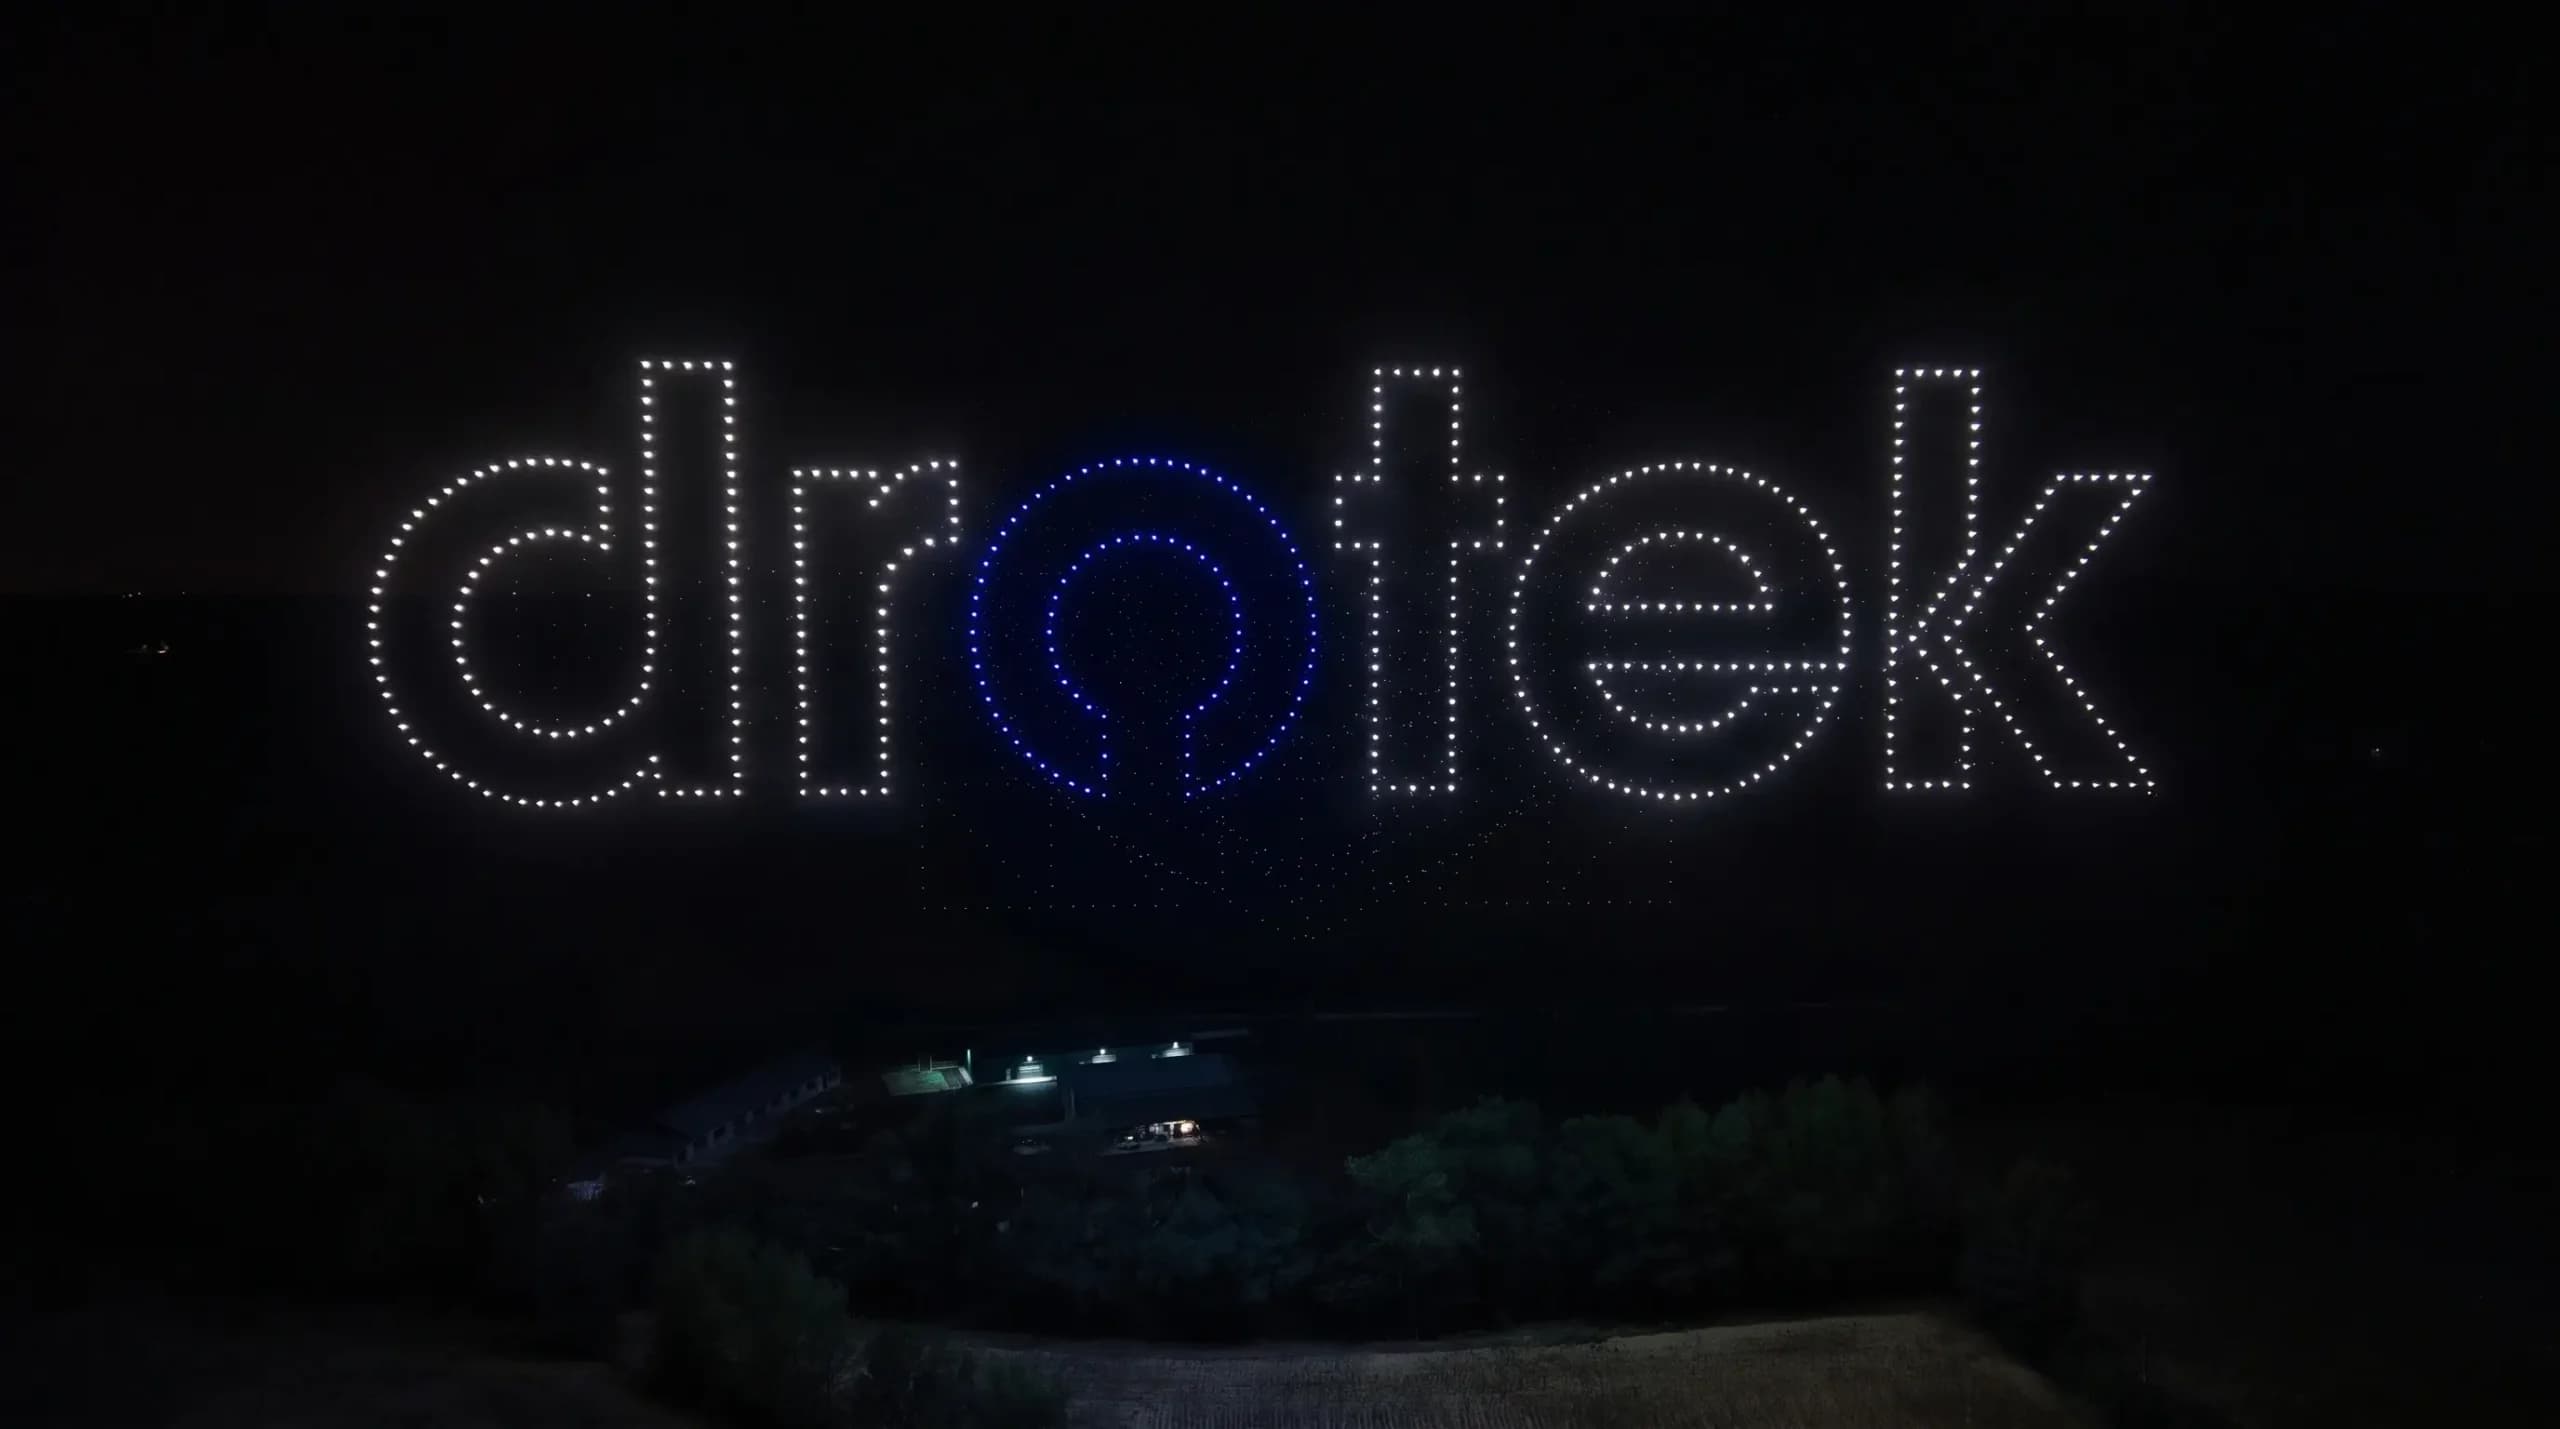

During a drone light show, hundreds of drones draw a logo, write a message, then move on to the next shape. Each of those images is prepared long before the event: the designer turns the client's ideas into flight paths for every drone.
This guide walks you through that process, from the first idea to a show file ready to fly. Whether you run an event company, a drone show business, or a creative studio, you will see what each stage requires and how drone show software like Mosaic, developed by Drotek, helps you create, animate, and validate your show.
What Does It Take to Design a Drone Show?
A Creative Job and a Technical Job
Designing a drone show is two jobs in one. The first is creative: choosing the scenes, shapes, colors, and rhythm of the show. The second is technical: every drone needs a flight path that respects distances, speeds, and the limits of the hardware, from takeoff to landing.
A drone show designer has to handle both at every stage. An image cannot be used if two drones come too close during the transition that leads to it, and a safe flight plan is not enough if the images are hard to read from the ground.
That is why professional teams work with dedicated drone show software rather than generic animation tools. The software lets you build scenes visually, then converts them into waypoints for each drone and verifies that all the drones can fly them. The process below follows the order most show designers use, and the order in which Mosaic is organized.
Step 1: Start Your Project with the Event and the Audience
Define the Story, the Scene, and the Show Time
Every drone show starts with a brief, not with software. Before opening any software, answer a few questions with your client or your team:
- What is the event? A city celebration, a product launch, a festival, or a corporate gala each calls for a different tone.
- Who is the audience, and where will they stand? The viewing angle shapes every formation. A logo that looks right from the front can look distorted from the side.
- Which scenes do you want? List them in order: an opening, the main images such as a logo or a message, and a finale.
- How long will the show last? Most drone shows run for several minutes. The show time, the music, and the number of scenes must fit together.
If the show is set to music, lock the soundtrack early. Transitions and color changes will follow its rhythm, so changing the music late in the project often means reworking the choreography.
For example, a city that wants a drone light show instead of fireworks for its New Year celebration will usually ask for its coat of arms, the year and a countdown, while a company launching a product will want its logo and the product itself in the sky. Writing down these main images at the beginning of the project gives the whole team the same base to work from and avoids different expectations between the client, the designer, and the field team.
Set the Number of Drones and the Flight Zone
The number of drones defines the level of detail you can reach. A simple shape or short text works with a medium fleet, while detailed animations or complex logos need many more points to read clearly in the sky.
The flight zone matters just as much. Its size, its maximum altitude, and the safety distance to the audience come from the venue and from local regulations. Define them at the start of the project, because they limit how big your formations can be and where your drones can take off and land.
Step 2: Choose the Right Drone Show Software
With the brief in hand, choose the software you will design with. Drone show software does more than an animation program. When comparing options, look for a tool that lets you:
- create formations from images, text, and 3D models without placing every drone by hand;
- set the color of each drone, frame by frame;
- manage takeoff, transitions and landing for the whole fleet;
- check flight safety automatically before export;
- export a show file your drones and ground control station can actually fly.
Why Mosaic Is Built on a 3D Animation Engine
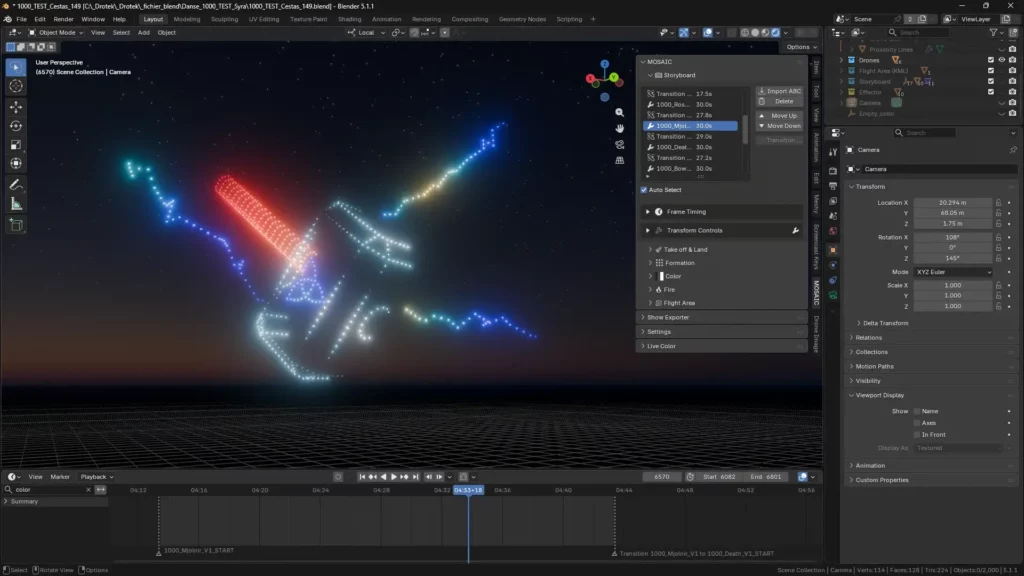
Mosaic is Drotek's drone show design software. It runs on Blender, the free 3D software used by many animators and motion designers, and adds everything specific to drone shows on top of it: formation features, light effects, choreography, safety checks, and show export.
The benefit is practical: your team uses Blender's camera, rendering, and modeling tools instead of learning a new program from scratch. Designers who already use 3D software get started quickly, and those who do not can rely on Mosaic's dedicated features at each stage of the process.
Mosaic is developed by Drotek, the company that also builds the IO Star 3. The software and the drones are designed with the same constraints in mind, which makes it easier to connect the creative work with what the hardware can really perform.
Mosaic is available as a monthly license and is part of the Drotek ecosystem, alongside the IO Star 3 light show drone and the Ground Control Station. To learn how a show is controlled once it is in the air, read our article on how drone light shows are controlled.
Step 3: Create Formations: Shapes, Text and 3D Models
Formations are the images drawn by the drones. Each formation is a set of points in the sky, one per drone. The challenge is to place those points so that the shape reads clearly with the number of drones you have. Mosaic provides several ways to create them, depending on where your idea comes from.
From a Logo or Picture to a Custom Formation
Brand logos, emblems, and illustrations are among the most requested scenes, especially for corporate events. In Mosaic, the Mesh Picture feature generates a formation directly from an image. You import the logo, choose how many drones to use, and the software distributes the points across the image. You can then refine the result to sharpen key details, such as the outline of a letter or the edge of a symbol.
Writing Text in the Sky
A name, a date, or a short message is often part of the brief. The Mesh Text feature creates letters from fonts you have downloaded, so the text matches the visual identity of the client. Keep messages short and choose bold, simple fonts: thin strokes and small details are hard to read with lights hundreds of meters away.
Turning a 3D Model into Drone Points
For effects such as a rotating globe, an animal in motion, or a product in 3D, you can start from a 3D model. The Mesh Converter feature places a defined number of points on the surface of any 3D mesh, whether it is static or rigged for animation. This is where Blender is useful: you can animate the model with standard animation techniques, and the drones follow its movement.
Making Drones Follow a Path
Some effects are not fixed shapes but movement: a comet crossing the sky, a spiral, a wave. The Follow Path feature makes a group of drones travel along a curve over a set duration.
A custom image often combines several of these methods. For example, a large text can sit above a 3D model, with each part built using a different feature, then grouped into a single formation for the drone show.
Step 4: Design the Lighting and Color Effects
Each drone carries a light whose color can change at any moment of the show. The same formation can look calm or festive depending on its colors and how they change. Color changes also keep the show interesting between two images.
Mosaic gives you three ways to manage color:
- Set Color assigns a fixed color to selected drones, for example, to match a brand's colors.
- Color Effect applies ready-made light effects, such as gradients or animated patterns, with minimal setup.
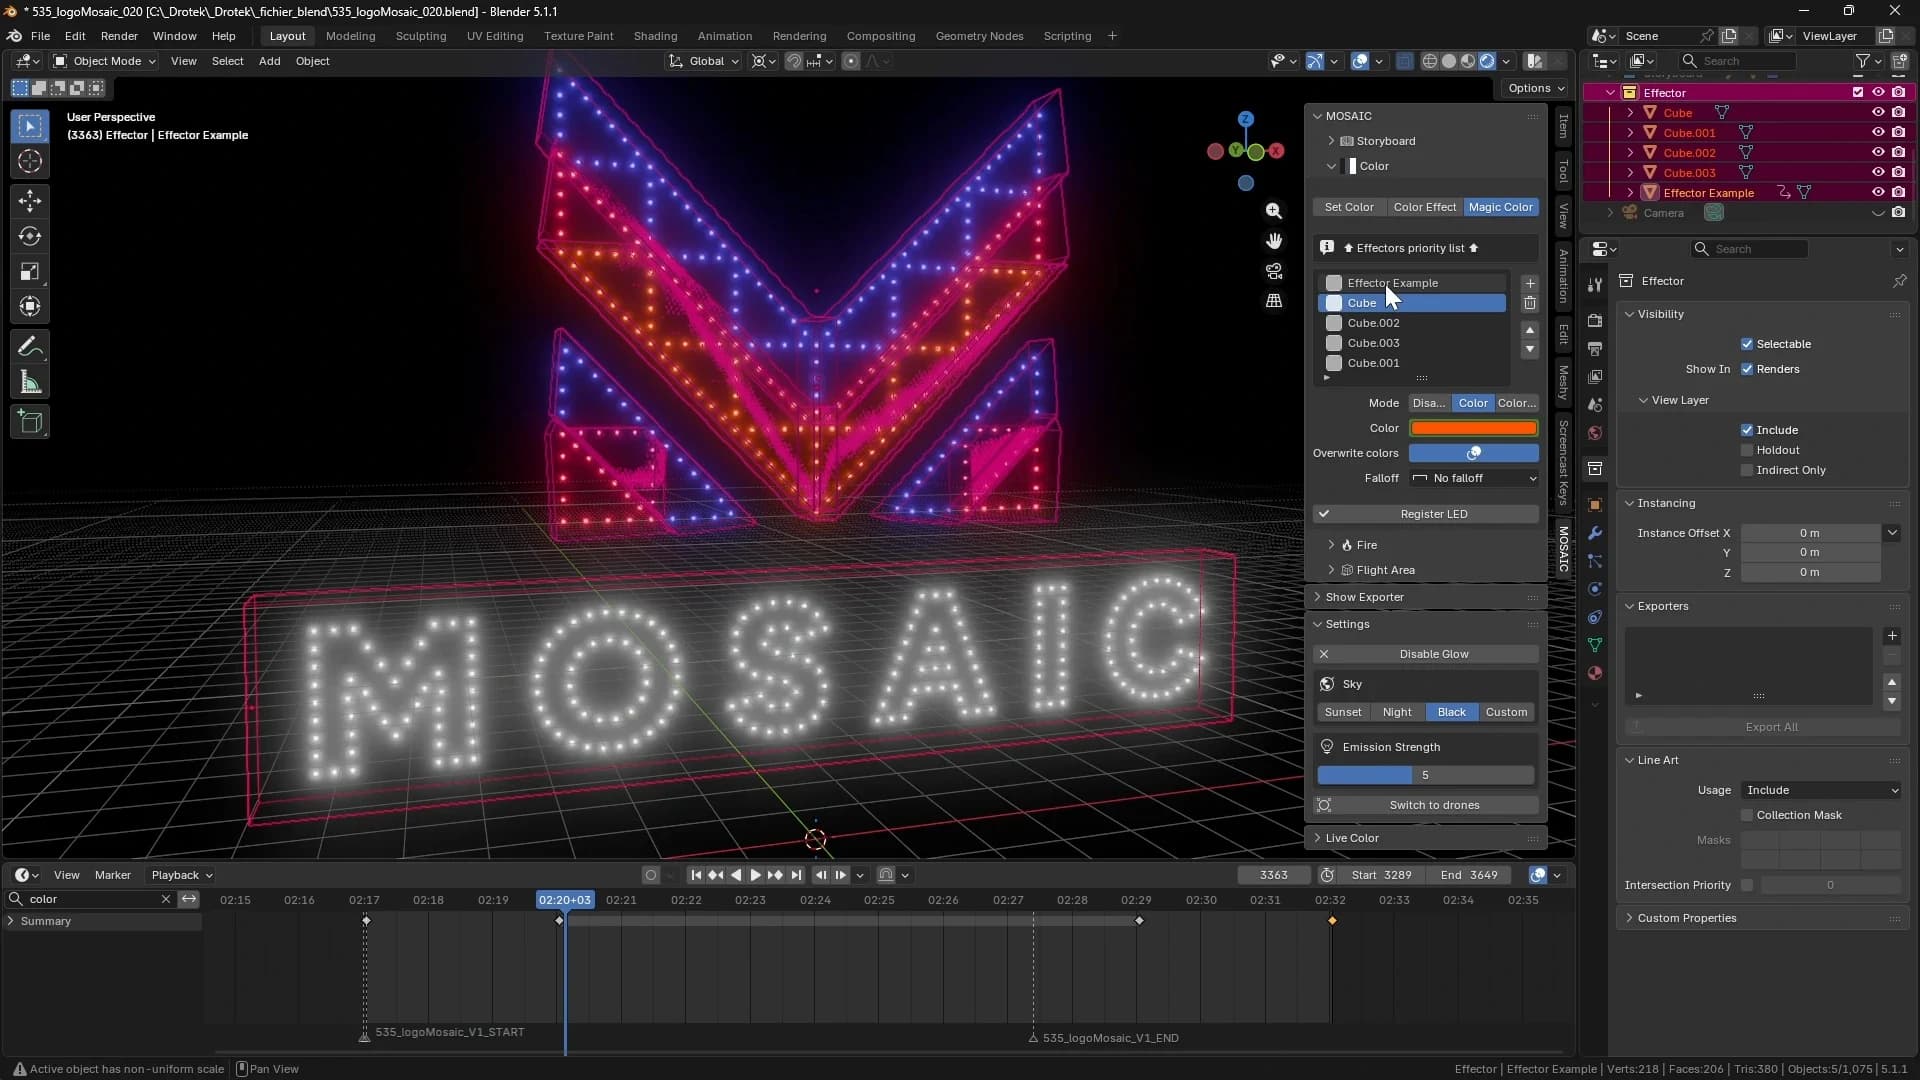
- Magic Color applies effects through an effector, an object you move through the formation to sweep color across the drones, for example, a wave of light passing over a logo.
These effects can be combined or set to overwrite the existing colors. A few rules help: match color changes to the music, use contrast to make an image stand out against the night sky, and stay true to the client's brand colors when a logo appears.
Before going further, you can switch between a simple sphere view and a drone view, and turn on a glow effect to see how the show will look at night.
Step 5: Choreograph Takeoff, Transitions and Landing
Once your images and colors are ready, you need to connect them into a single flight. This is the choreography: where each drone starts, how it reaches the first formation, how it moves from one scene to the next, and how it lands. In Mosaic, this work happens in the Storyboard, where scenes are arranged on a timeline.
Ground Setup and Takeoff
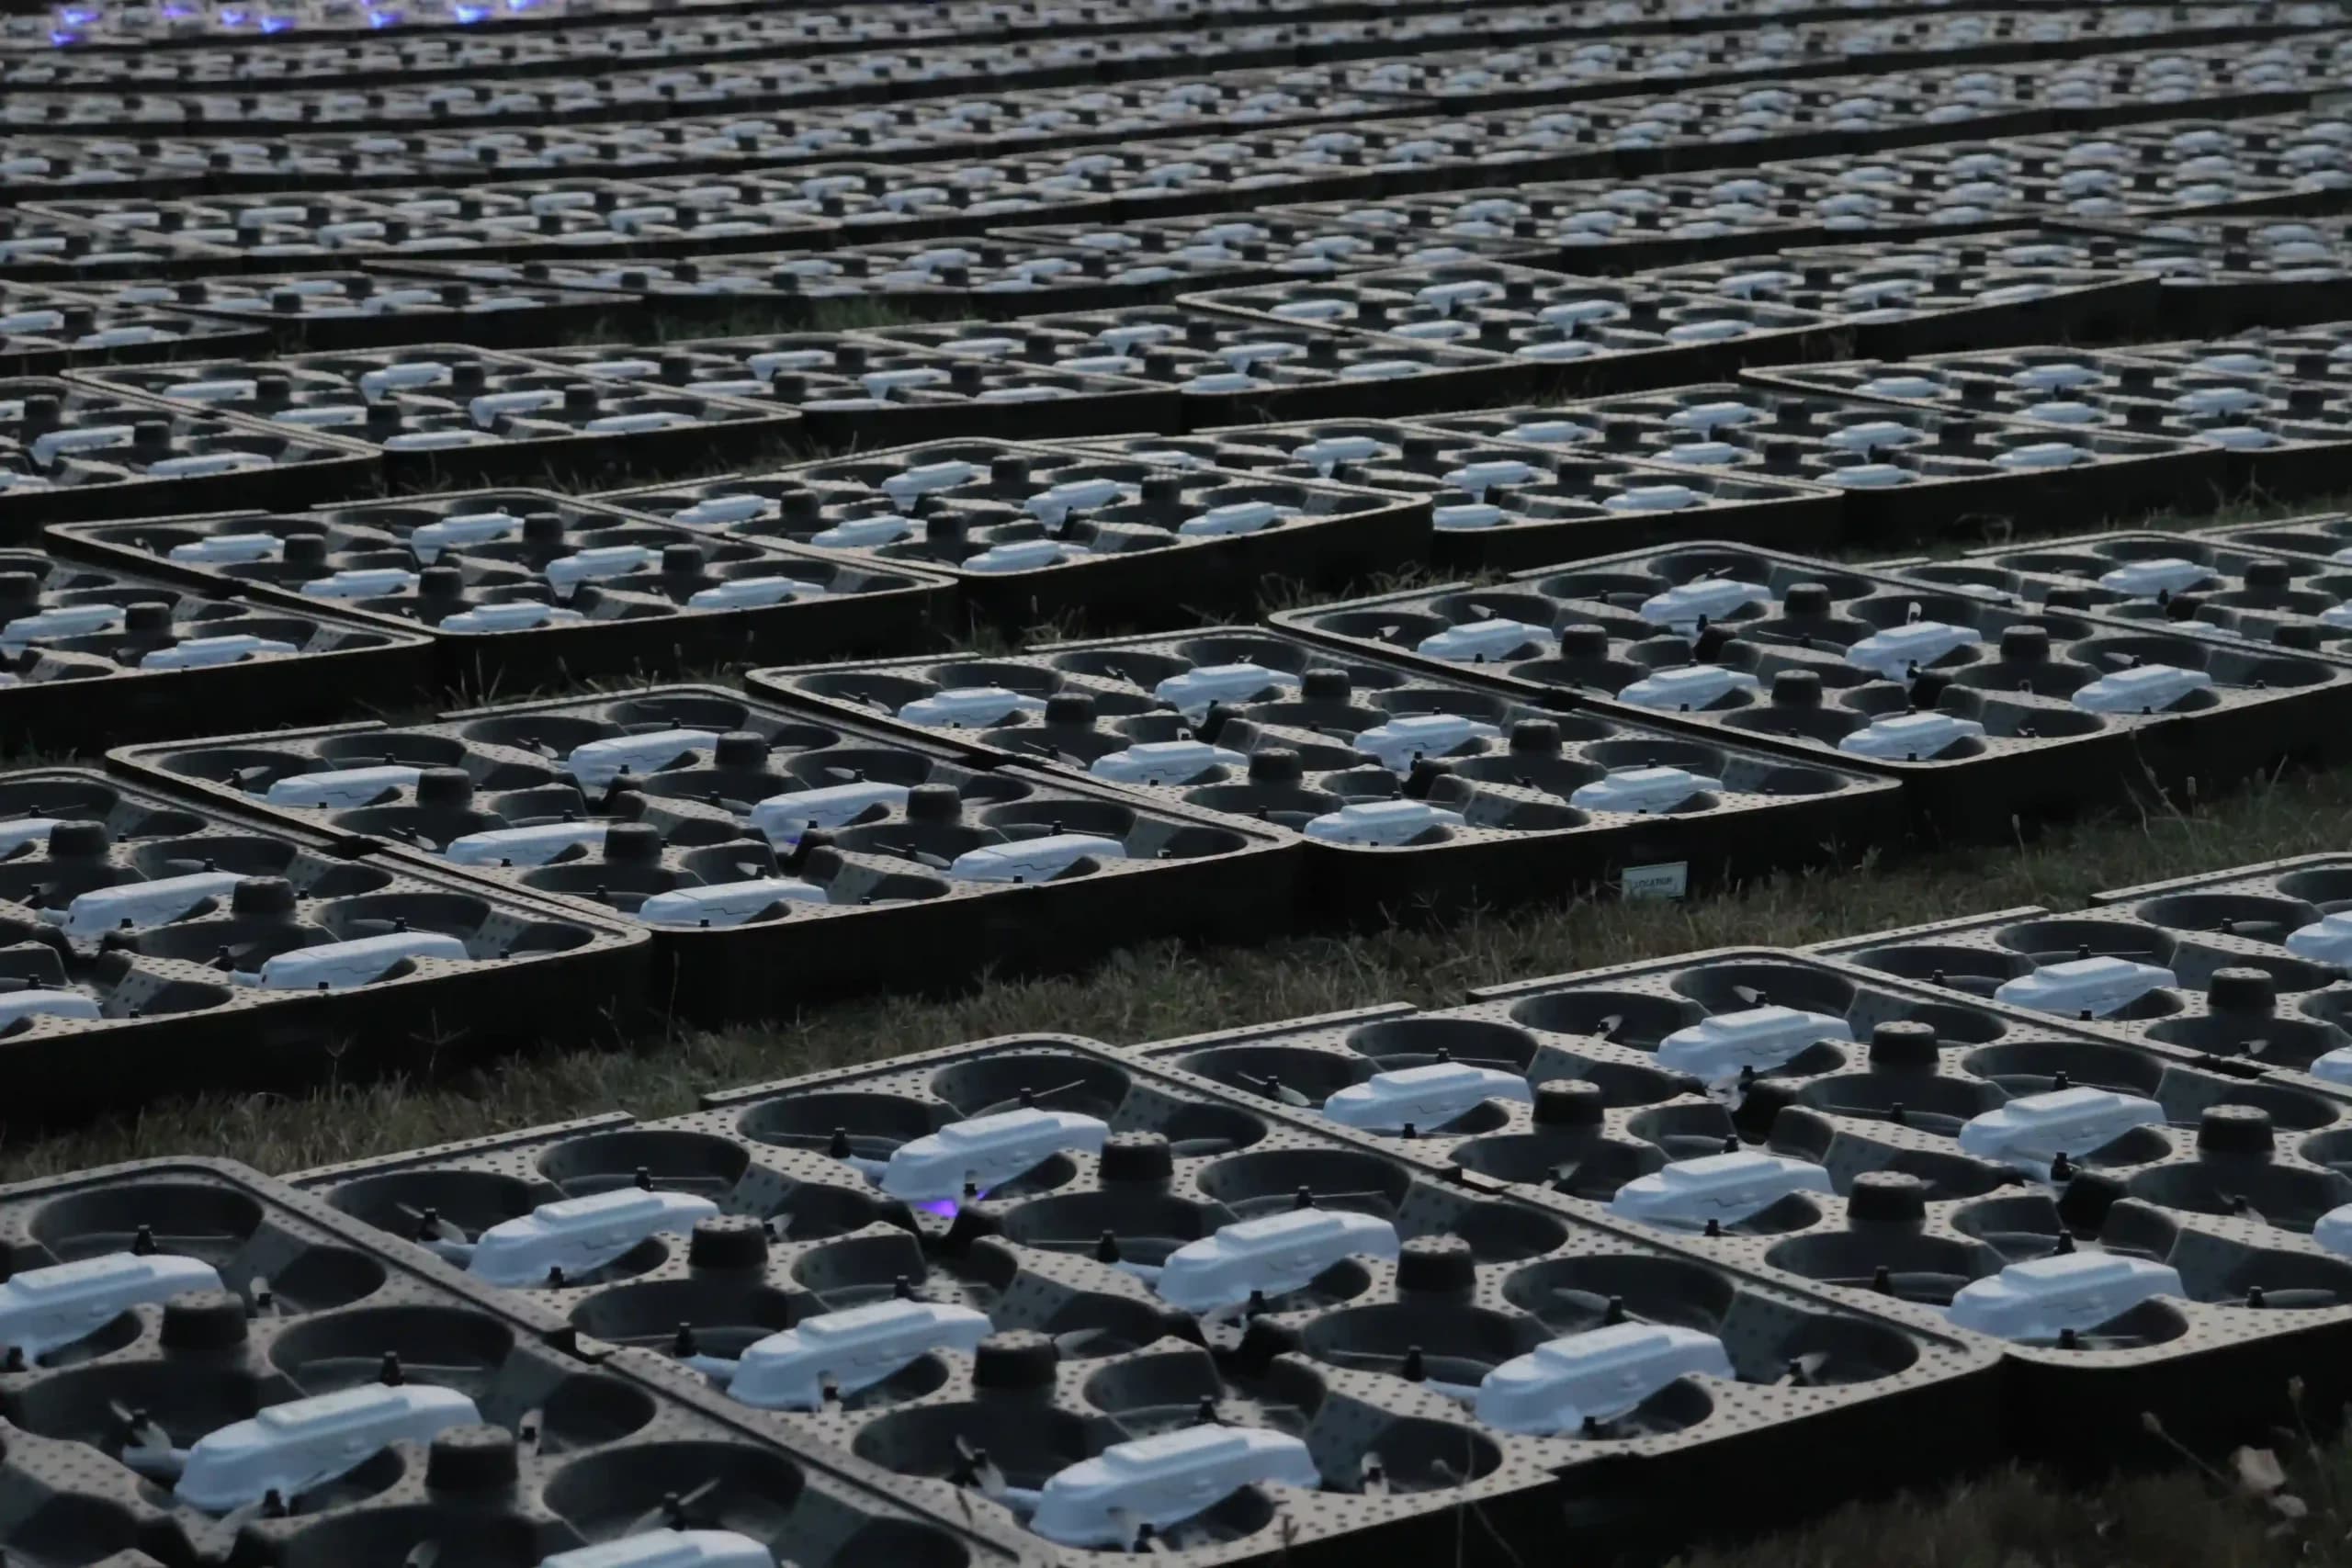
The ground setup defines the grid where the drones are placed before the show, matching the real layout on site. Mosaic then offers several takeoff methods, so you can choose between a simple vertical rise and a more visual opening where the takeoff itself becomes part of the drone show. Landing is configured the same way, to bring every drone safely back to its position.
Smooth Transitions Between Formations
Transitions are often where a show looks less polished. Spectators should see one image turn into the next, not drones moving in every direction. Mosaic calculates how drones move between two formations and which drone goes to which target. Swaps allow you to adjust those assignments to shorten distances and avoid crossings, which makes transitions shorter and safer.
Timing matters too. If the move is too short for the distance, drones accelerate too hard; if it is too long, the show loses its rhythm. Adjust the duration of each transition to the music and to the distance the drones have to cover.
Step 6: Check Flight Safety Before the Show
Every drone must fly exactly as planned. Before any show is exported, it has to pass safety checks. With hundreds or thousands of drones, this cannot be done by eye, so the software has to run them automatically.
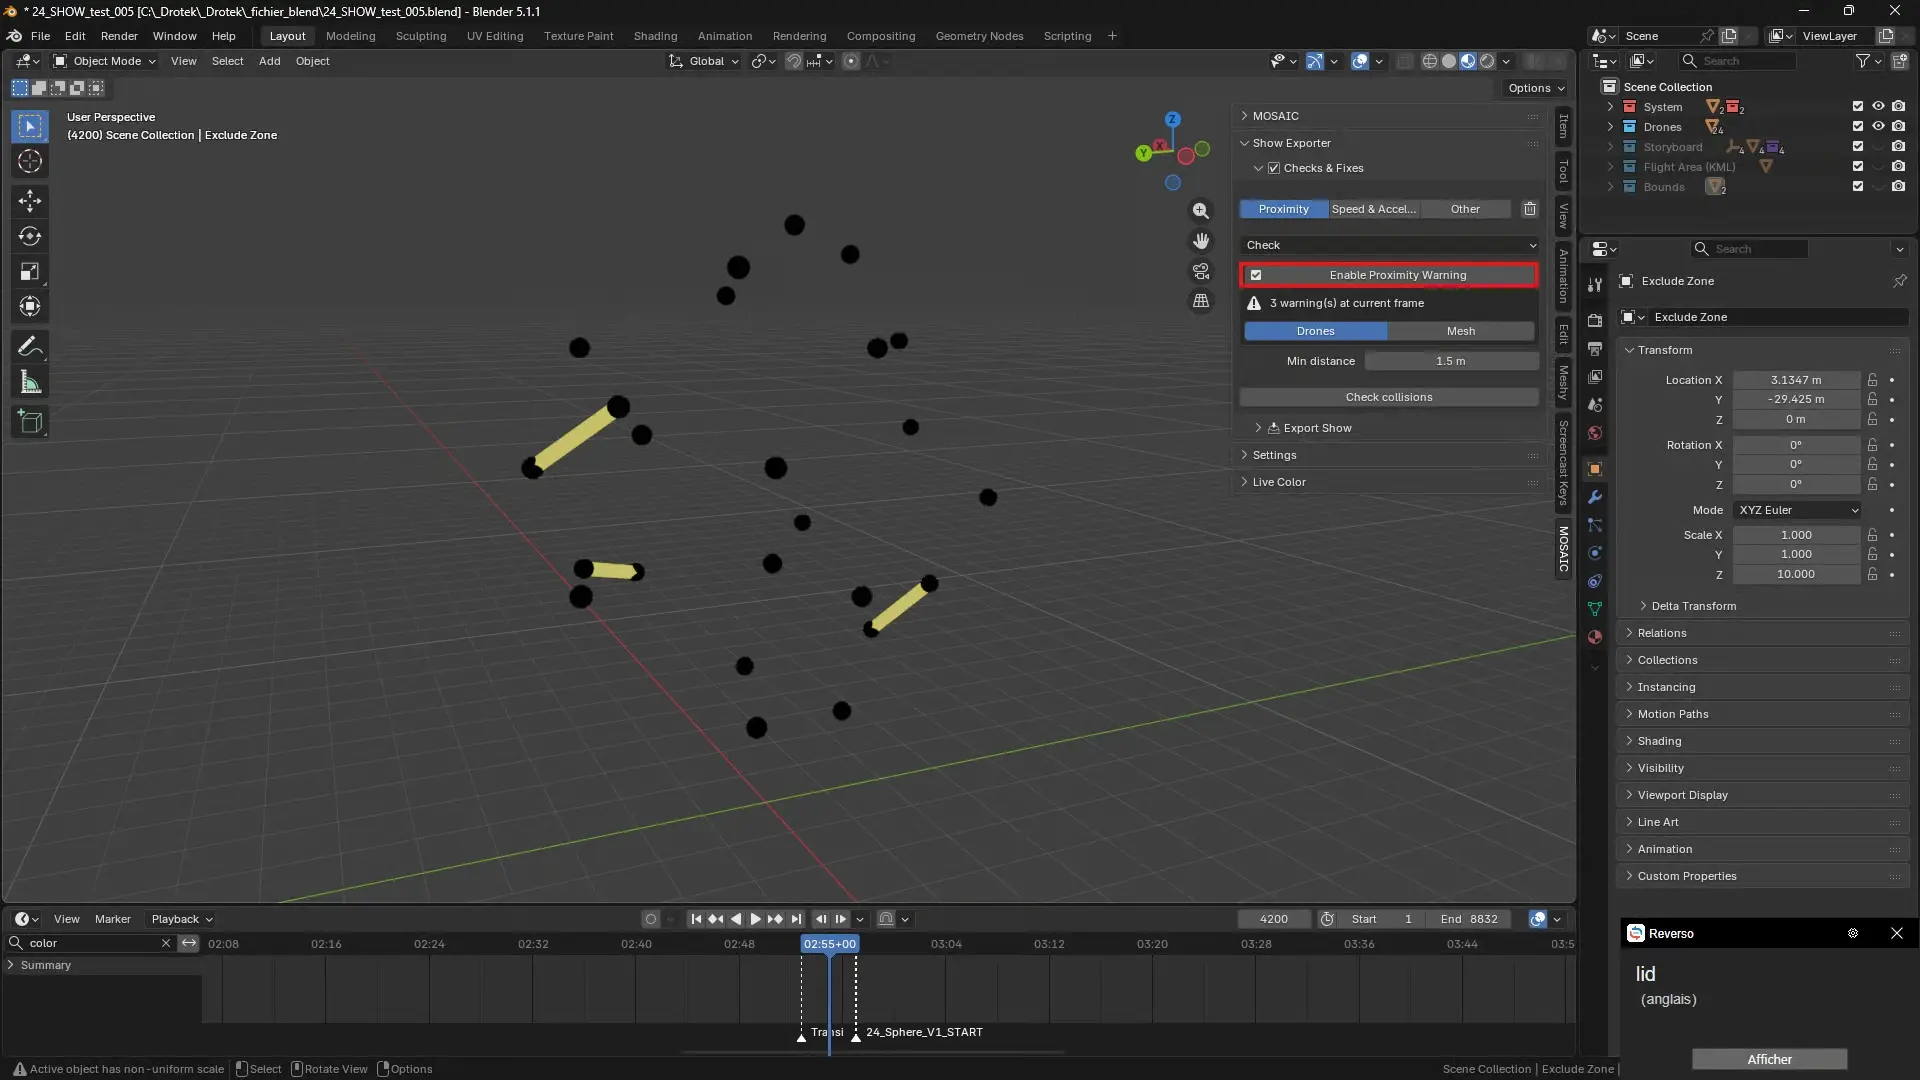
In Mosaic, the Check section tests the show in three categories: proximity, speed and acceleration, and other technical constraints. You can test all the drones or only a selection while you work on a specific part of the show.
Proximity Checks
The proximity check makes sure drones never get closer to each other than the minimum safe distance, at any moment of the show. Transitions are the usual risk: two drones crossing paths can look fine in a static image and still come too close while moving.
Speed and Acceleration Control
Each drone model has physical limits. The speed and acceleration check verifies that no drone is asked to move faster or change direction harder than the hardware allows. A show that ignores these limits may look good on screen but will not fly as designed.
When a check fails, Mosaic does not just display an error. It selects the drones involved and moves the timeline to the first moment of failure, so the designer sees the exact problem and can fix it right away, whether by adjusting a transition, changing a swap, or extending a duration. Running these tests throughout the creation process, and not only at the end, saves a lot of time.
Step 7: Export the Show File and Get Ready to Fly
Preview Your Show with Video Render and Live Color
Before export, take time to watch the whole drone show as spectators will see it. Place a camera at the real viewing position, then render a video of the show. This preview has two uses: it lets your team spot the last details to fix, and it gives your client a realistic view of the show for approval, long before the event day.
The Live Color feature displays a drone's colors in real time directly in the software, so you can view the lighting as you work.
From Show File to Fleet
Once the show passes every test and the client has approved the preview, Mosaic exports the show file. This file contains the trajectory and colors of every drone. It is loaded into the fleet through the Ground Control Station, which manages the drones on the day of the show.
In other words, the show file is what the design team delivers to the field team. Once it is complete and approved, nothing should need to change on site.
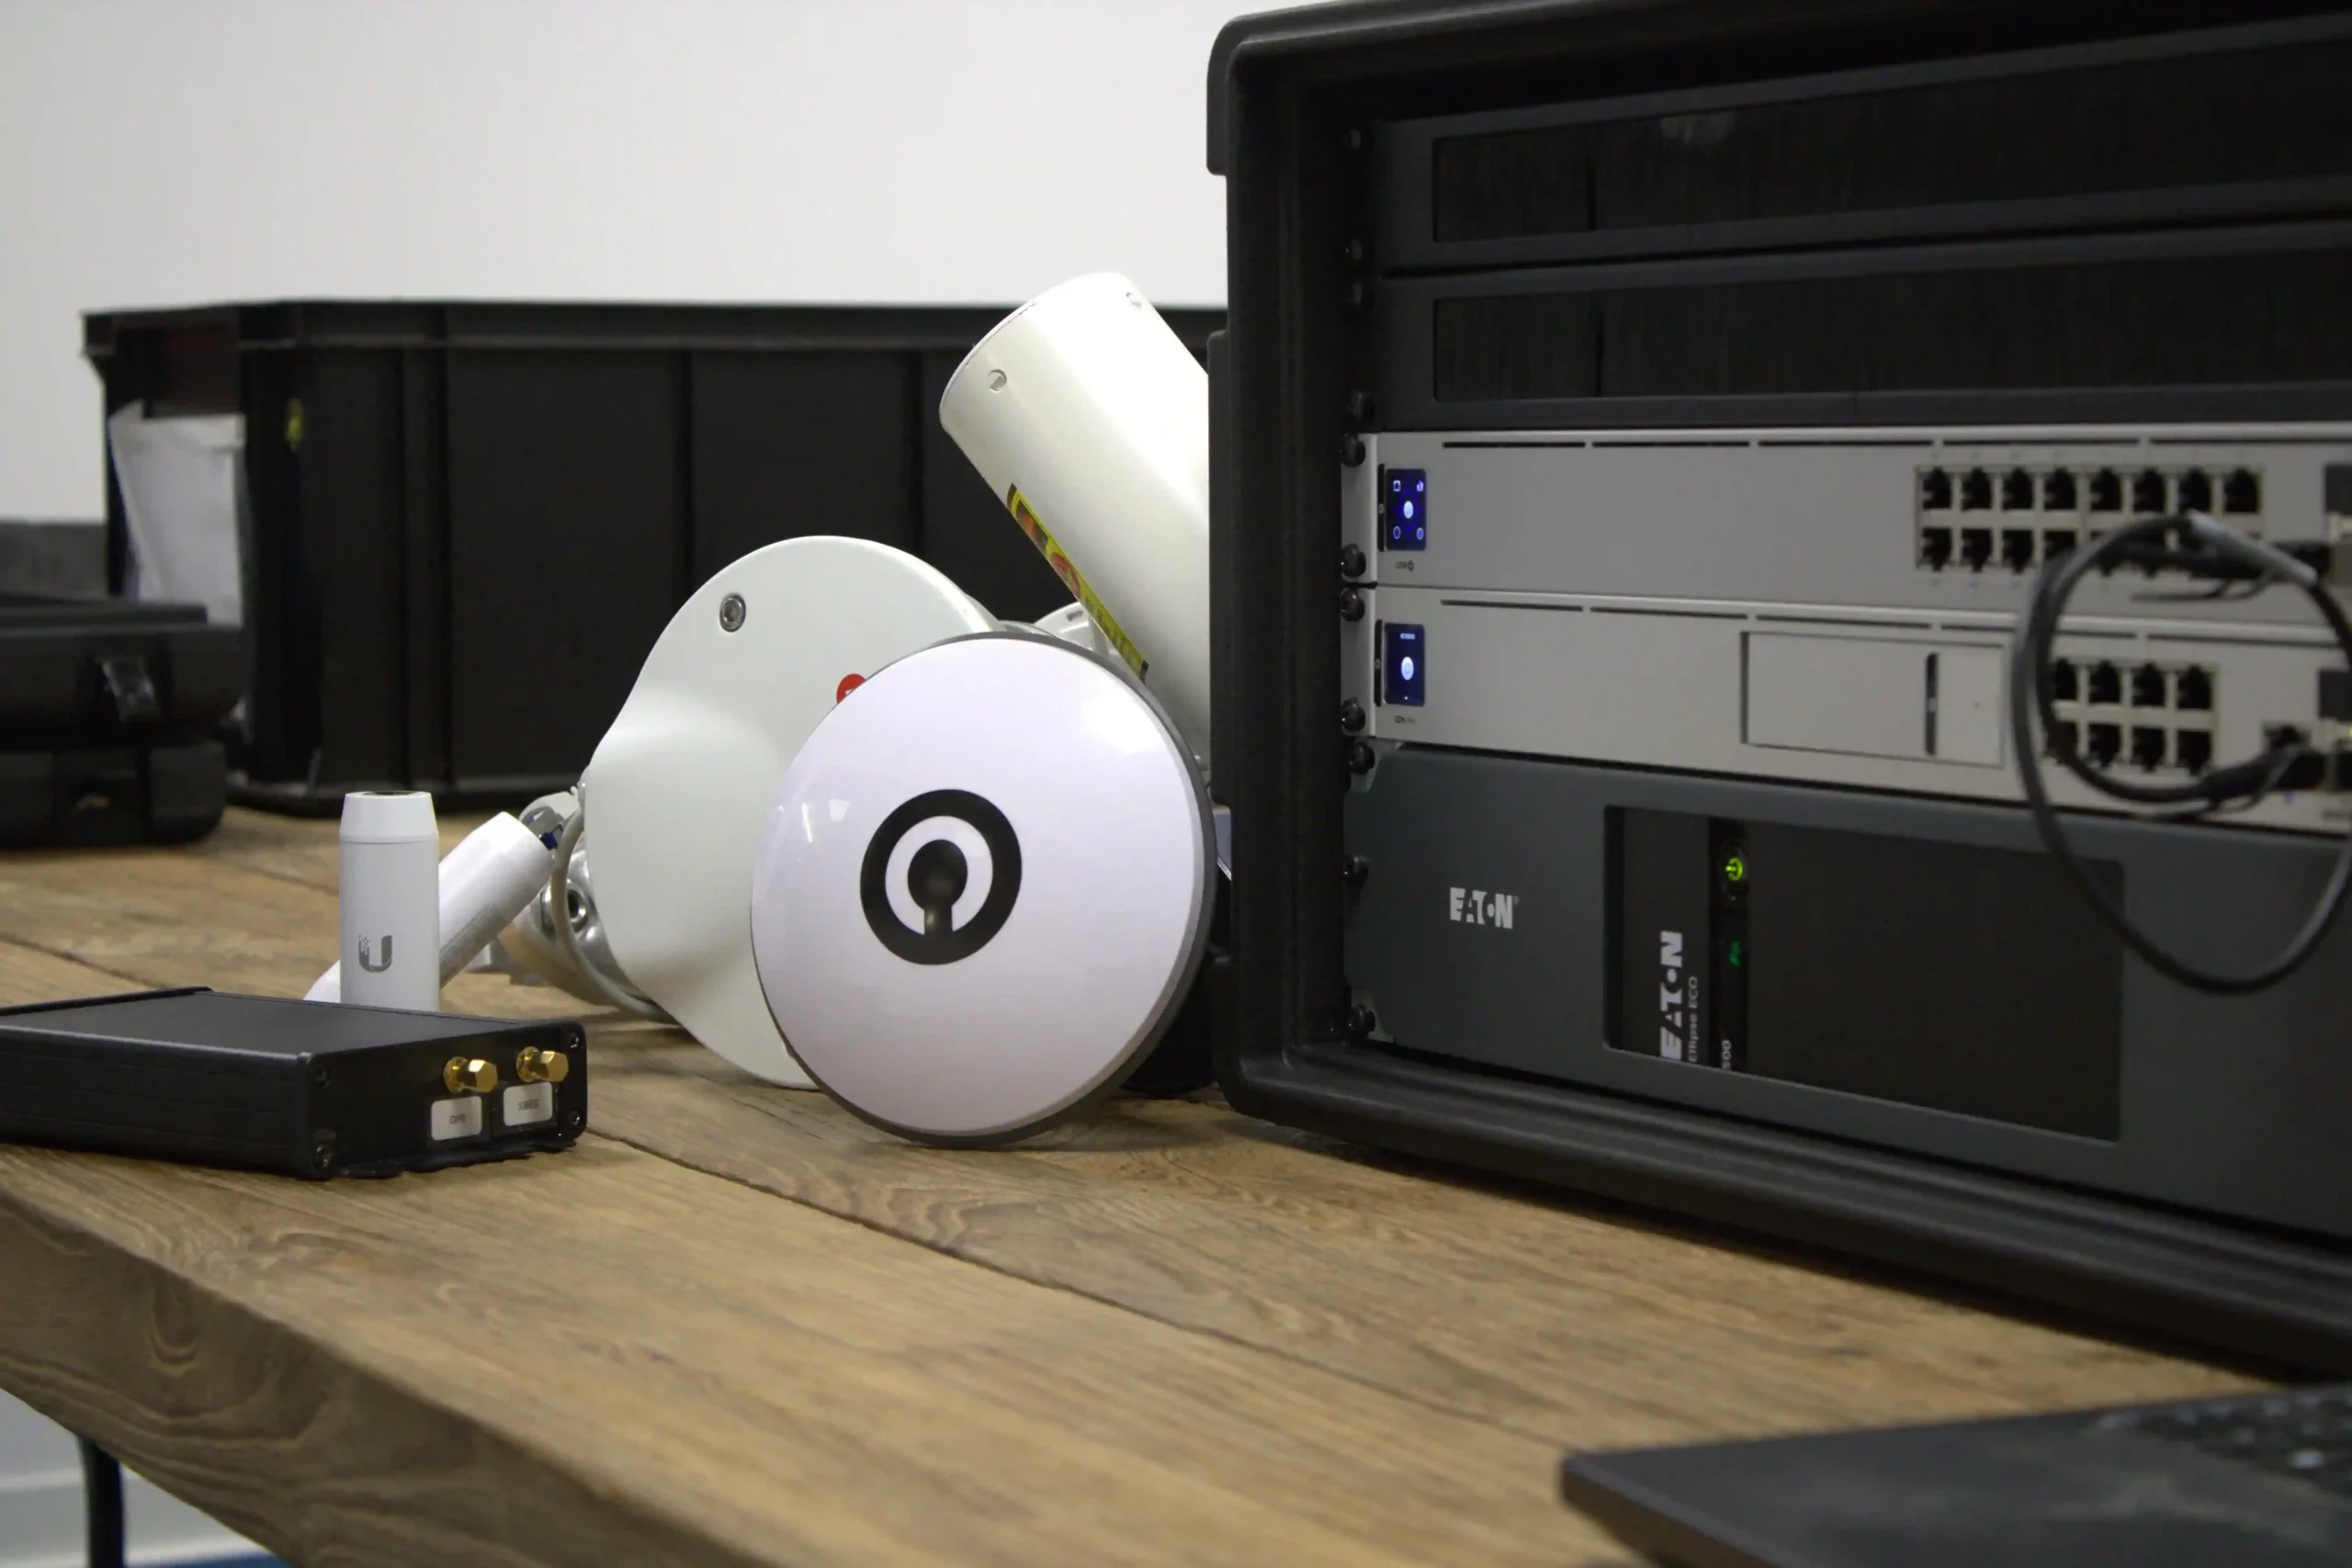
Mosaic, the IO Star 3 drones, and the Ground Control Station are designed to work together. To go further, discover what is included in a professional drone light show system.
See Mosaic Live at the Drone Summit 2026
Designing a drone light show is a process you can learn: define the project, create formations, design the lighting, choreograph the show, verify safety, and export. The right software makes each of these stages faster and safer.
Drotek will exhibit at the Drone Summit 2026, organized by LANG in Lindlar, Germany, on November 19. On our stand, you can watch a live demo of Mosaic and talk directly with the developers who build it: bring your project ideas and your technical questions, and see how a show comes together from the first image to the final export.
Can't make it to Lindlar? Discover Mosaic in detail or contact our team to book a demo.